Ensuring Compatibility in Rails Version Upgrades
Discover practical strategies to check, test, and resolve compatibility issues.


Pichandal
Technical Content Writer


When we talk about “compatibility” in a Rails upgrade, it usually means much more than just ensuring the application boots successfully. A successful upgrade depends on aligning your application code, gem dependencies, and infrastructure with the expectations of the latest Rails version. Overlooking even a single layer can introduce bugs, break features, or degrade performance.
These hurdles can quickly turn a straightforward upgrade into a lengthy, frustrating process. That’s why understanding how to check, test, and resolve gem and dependency compatibility is crucial for a smooth, low-risk upgrade.
At RailsFactory, our expert Ruby on Rails developers have executed hundreds of upgrades across various versions, business domains, and architectures. With over 18 years of experience in building and maintaining Rails applications, we bring deep expertise to every upgrade.
If you're looking for hands-on advice or clear directions on gem compatibility for your next Rails upgrade, you're in the right place.
In this article, we walk through how to identify gem and dependency compatibility and share practical strategies to resolve incompatibilities without derailing your upgrade timeline.
What "Compatibility" Really Means in a Rails Upgrade?
Compatibility during a Rails upgrade goes far beyond just updating the framework. It affects everything from your application code and third-party gems to test suite, and infrastructure. Ensuring true compatibility means evaluating the entire system holistically before, during, and after the upgrade.
How to Check for Gem and Dependency Compatibility
When upgrading your current Rails version, it’s not just the framework version you need to worry about. Your application likely depends on dozens of gems that may or may not support the new version. Even one incompatible gem can cause cascading issues across your codebase.
With extensive experience with Ruby on Rails development, our expert RoR team at Railsfactory has perfected a systematic approach to identify and resolve potential gem and dependency issues before they derail the Ruby on Rails update process.
To help you avoid common pitfalls, here we’ve put together a detailed list of steps that ensure a smoother, more predictable Rails migration.
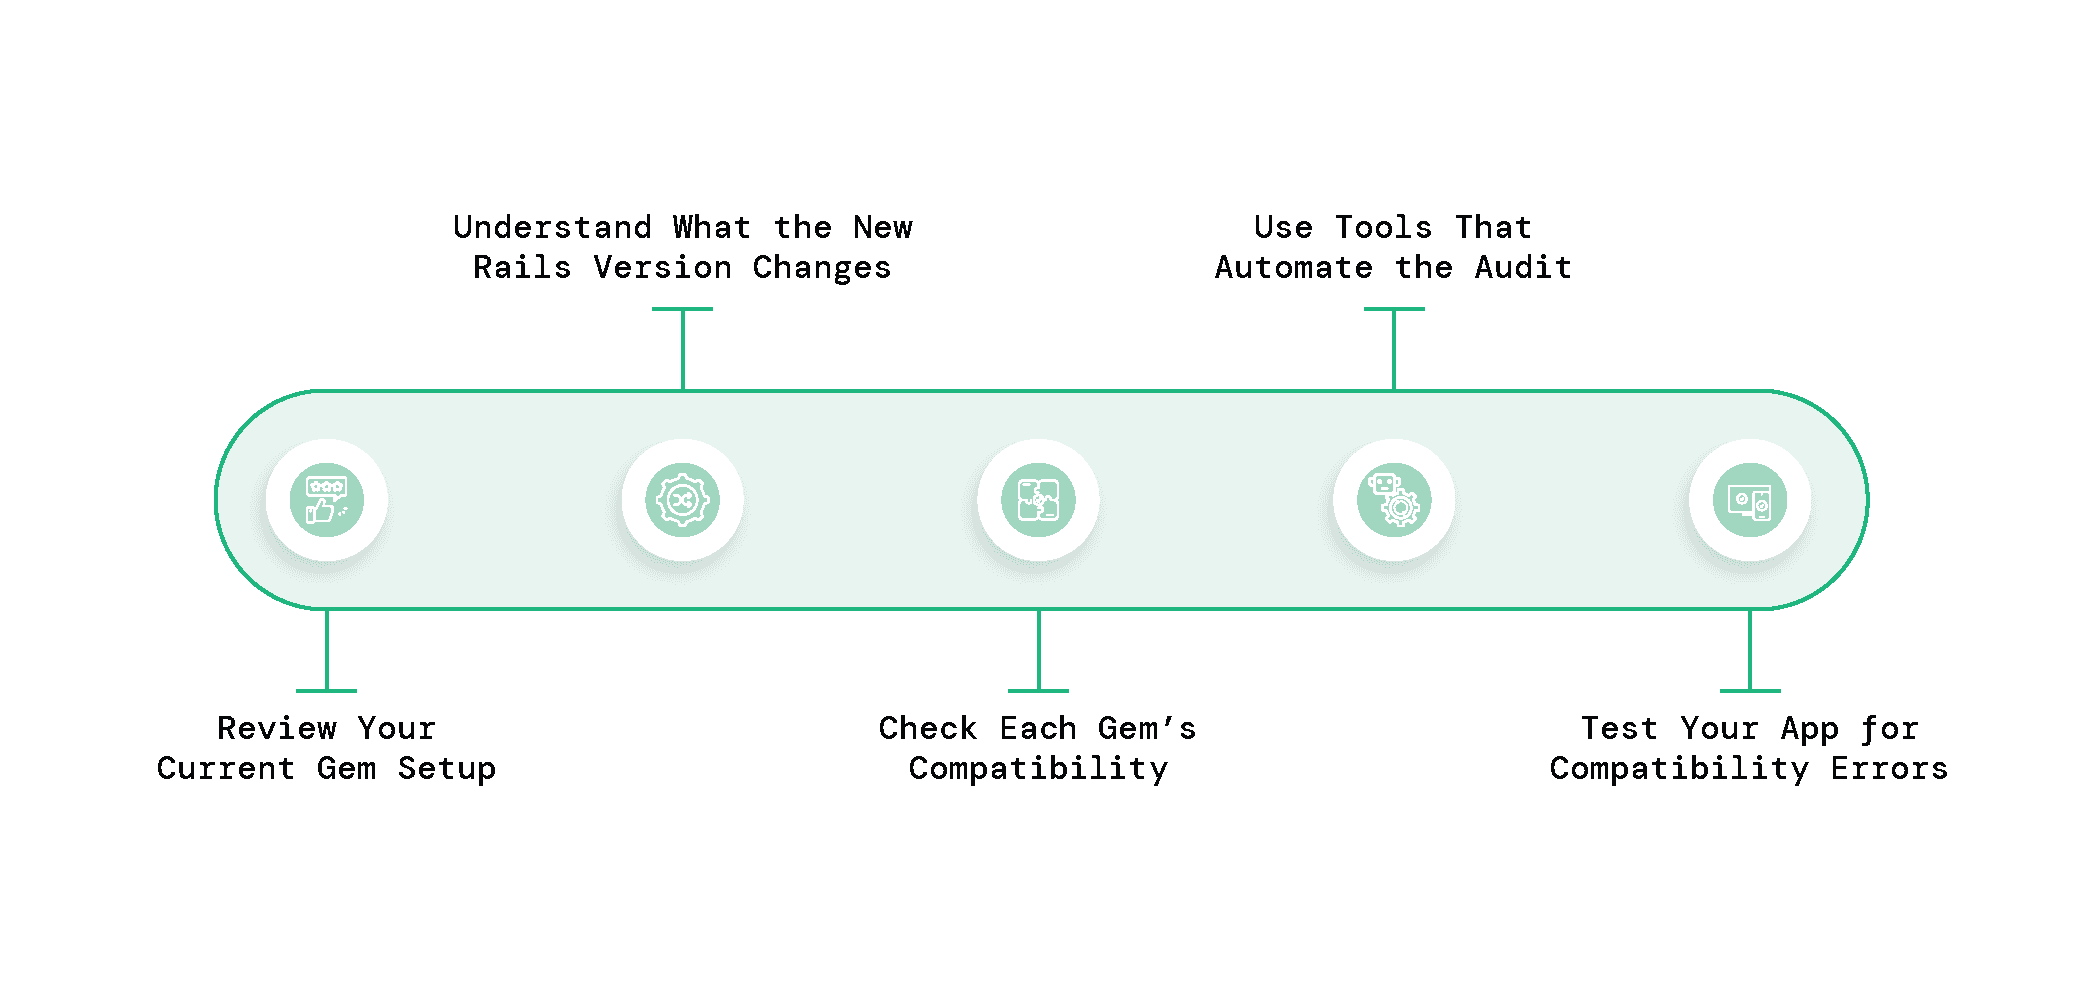
Review Your Current Gem Setup
Begin by checking your Gemfile to see which gems your application depends on. Look for version constraints (e.g., gem 'devise', '~> 4.8') that might restrict updates.
Run bundle list in your terminal to generate a full inventory of all the gem versions currently installed in your app.
Use bundle outdated to check which of your gems have newer versions available. The output shows current vs. latest versions, giving you a quick snapshot of what might need attention.
Understand What the New Rails Version Changes
Before starting the upgrade, carefully review the official Rails release notes for your target version to understand what’s changed. Pay close attention to removed methods, renamed APIs, and new conventions, especially when skipping multiple Rails versions, as these can silently break your app if left unchecked.
Also, use RailsDiff to compare your current Rails version with the one you plan to upgrade to. It shows line-by-line changes in default files like initializers, configuration files, and environment settings. This helps you identify which defaults have changed and which parts of your app might need manual adjustments.
Check Each Gem’s Compatibility
Visit the gem’s page on RubyGems.org or its GitHub repository. Look for supported Rails versions in README or gemspec.
Review recent commits and open issues to identify any known problems with newer Rails versions. You can also manually search for community insights using: "gem-name" + "Rails [target version] compatibility"
For a faster, more efficient check, try Railsup, our free gem compatibility tool that quickly highlights which gems may break with your target Rails version, saving you hours of manual work.
Use Tools That Automate the Audit
Bundler-Audit: Checks for known security vulnerabilities in your gem dependencies.
Bundler-Compatibility: Helps verify if specific gems are compatible with your Rails and Ruby versions.
Libyear: Calculates how outdated your gems are (by "age") to highlight neglected dependencies.
Dependabot (GitHub-native): Automatically creates pull requests to update outdated gems and checks build compatibility.
Test Your App for Compatibility Errors
After updating your gems, run your app using rails server and watch for any startup errors, warnings, or unexpected behavior. These often reveal compatibility issues with specific gems or deprecated Rails features.
Pay special attention to stack traces and deprecation warnings. They usually point directly to outdated gems, broken dependencies, or areas where your app relies on behavior that’s changed in the new Rails version.
Strategies for Resolving Compatibility Issues
Even with careful planning, compatibility issues are common during Rails upgrades, especially when gem dependencies, custom plugins, or deprecated APIs come into play. Here's how our Ruby on Rails experts handle them systematically:
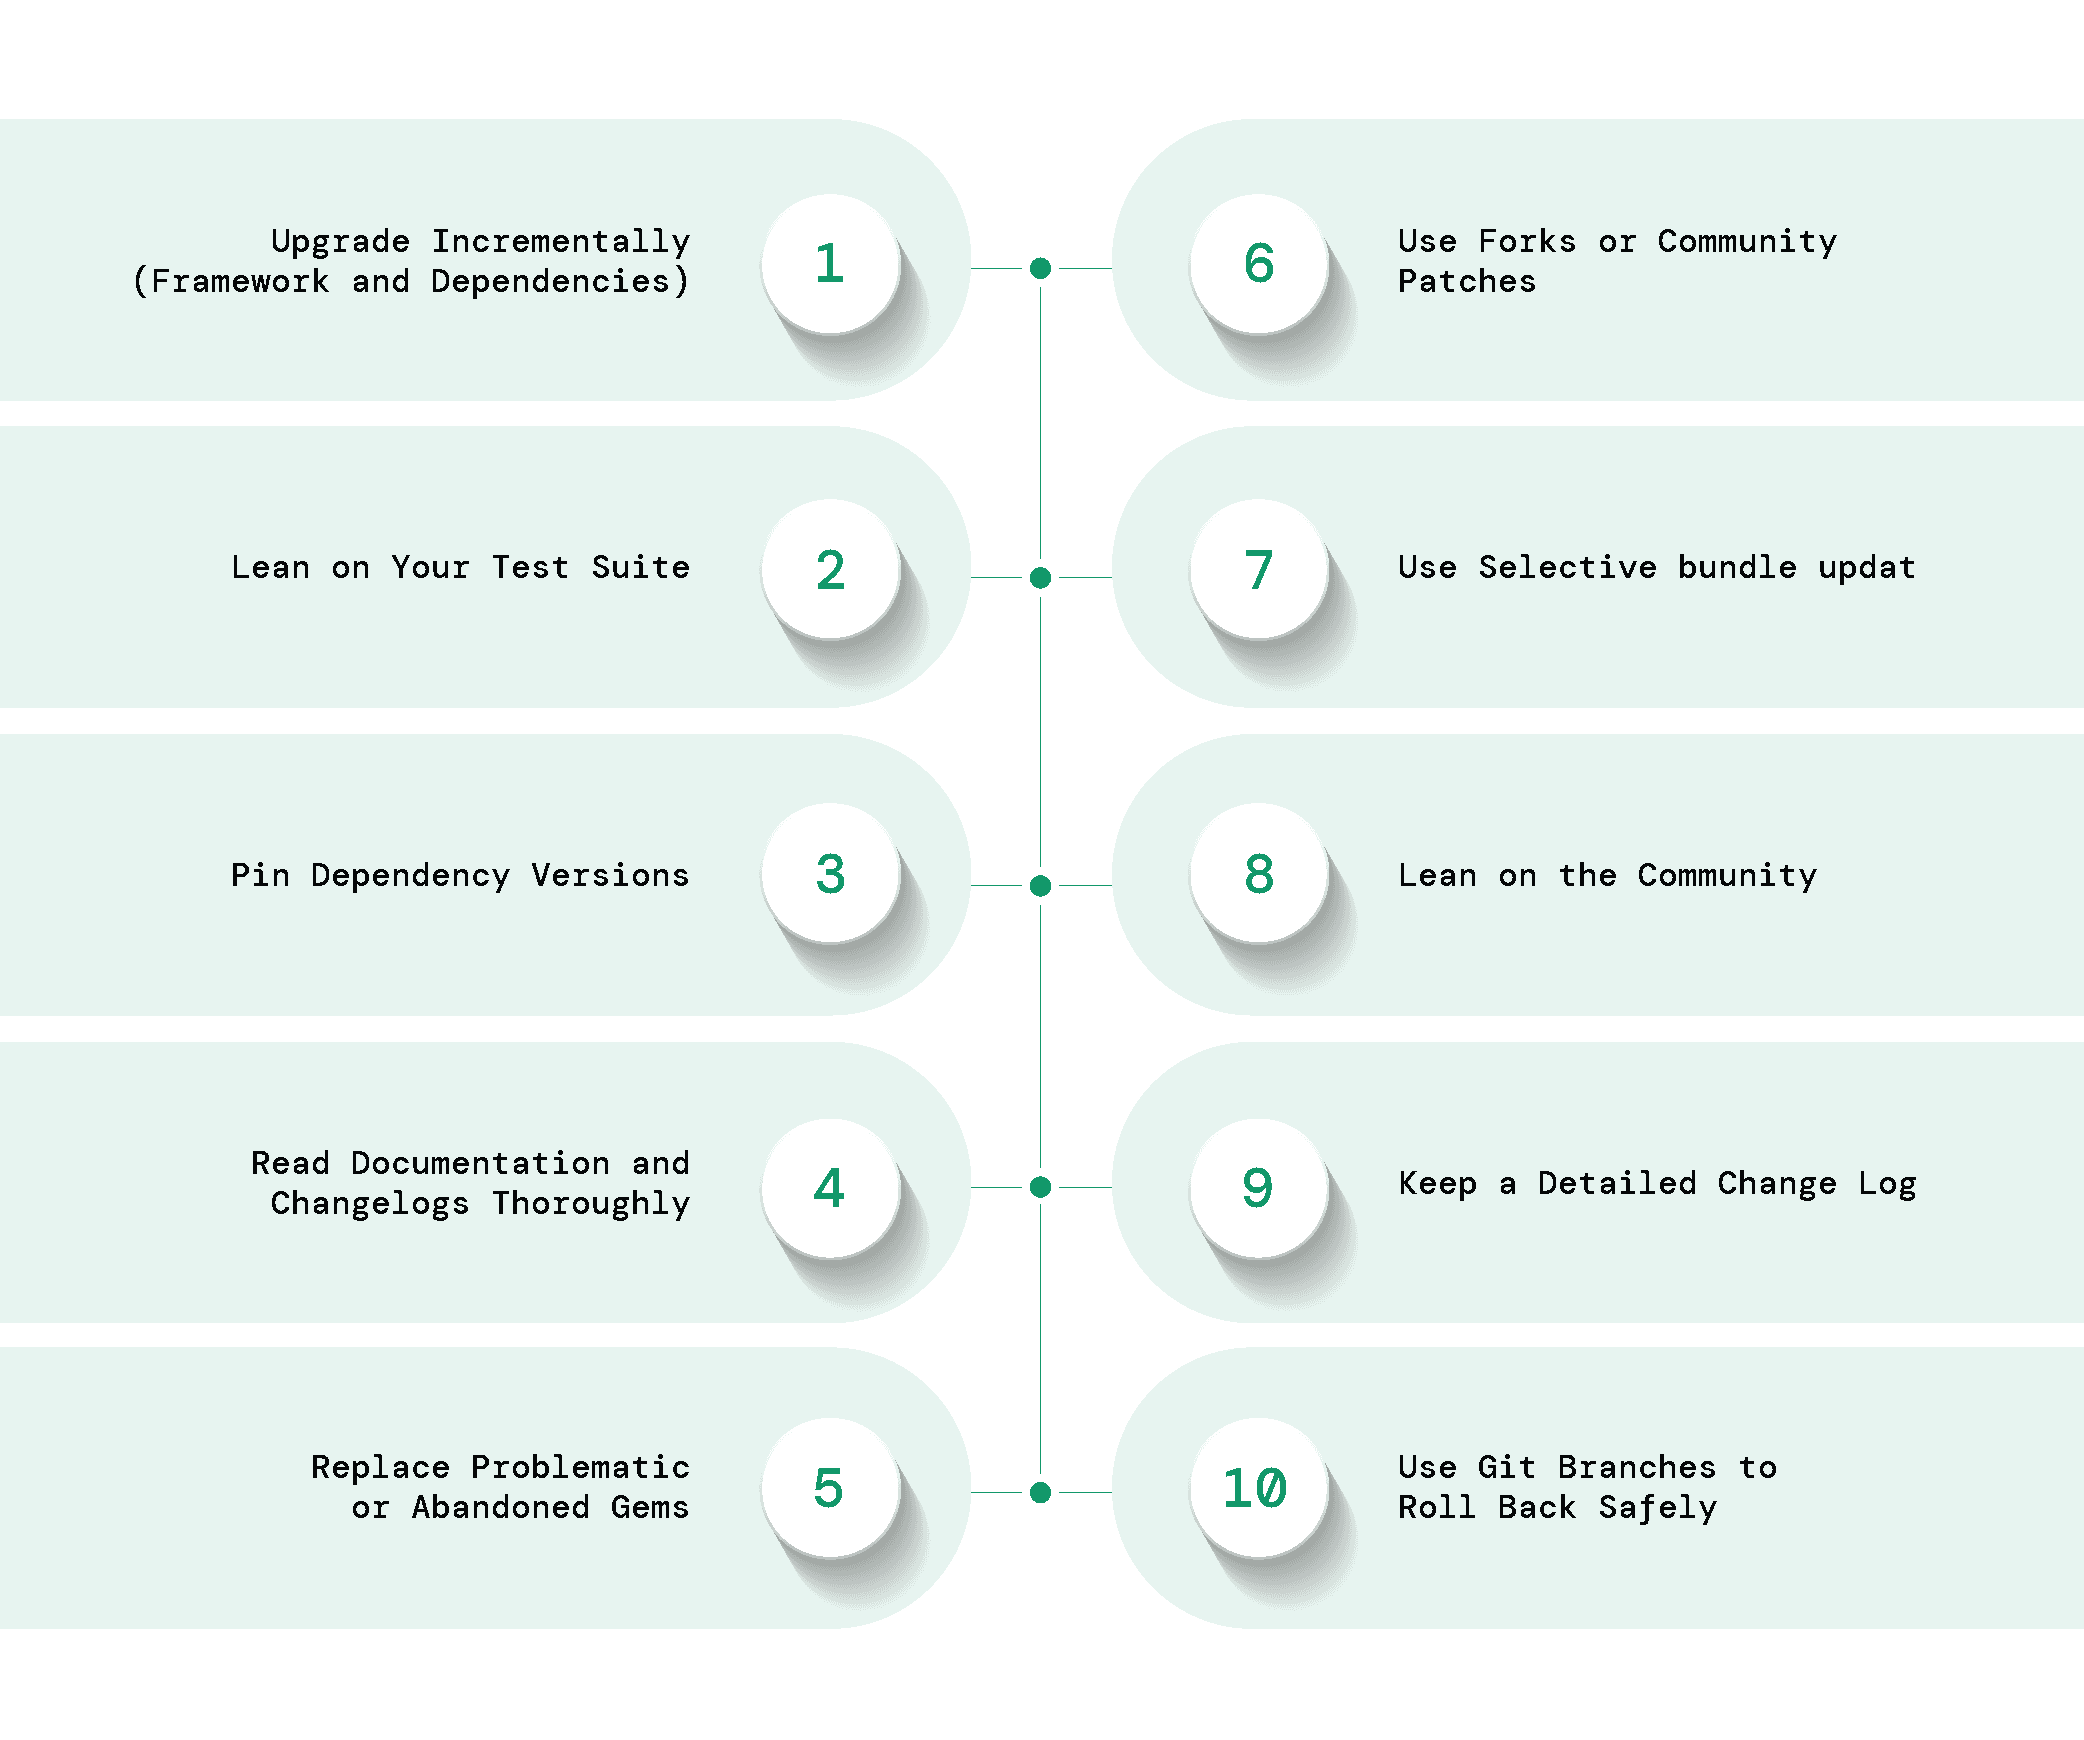
Upgrade Incrementally (Framework and Dependencies)
Always avoid skipping multiple major Rails versions in one go as it is far more error-prone than upgrading in smaller, manageable steps. Each version introduces its own set of changes, deprecations, and configuration differences.
Thus, within each Rails version step, upgrade gems and features one at a time. Don’t refactor large areas or change multiple configurations at once. This makes it easier to isolate where things break and quickly revert changes when needed.
Lean on Your Test Suite
Your test suite is one of your best allies during a Rails upgrade. Run tests after each incremental change, whether it's a gem bump, config file update, or Rails core version change. If your test coverage is weak, consider writing tests for high-risk areas before starting the upgrade.
Even basic tests (such as critical controller and model specs) can catch issues introduced by gem incompatibilities, changed defaults, or deprecated features.
Pin Dependency Versions
Use semantic version locking in your Gemfile to prevent unintentional upgrades that might break your app, until you find a fix or compatible version. For example:
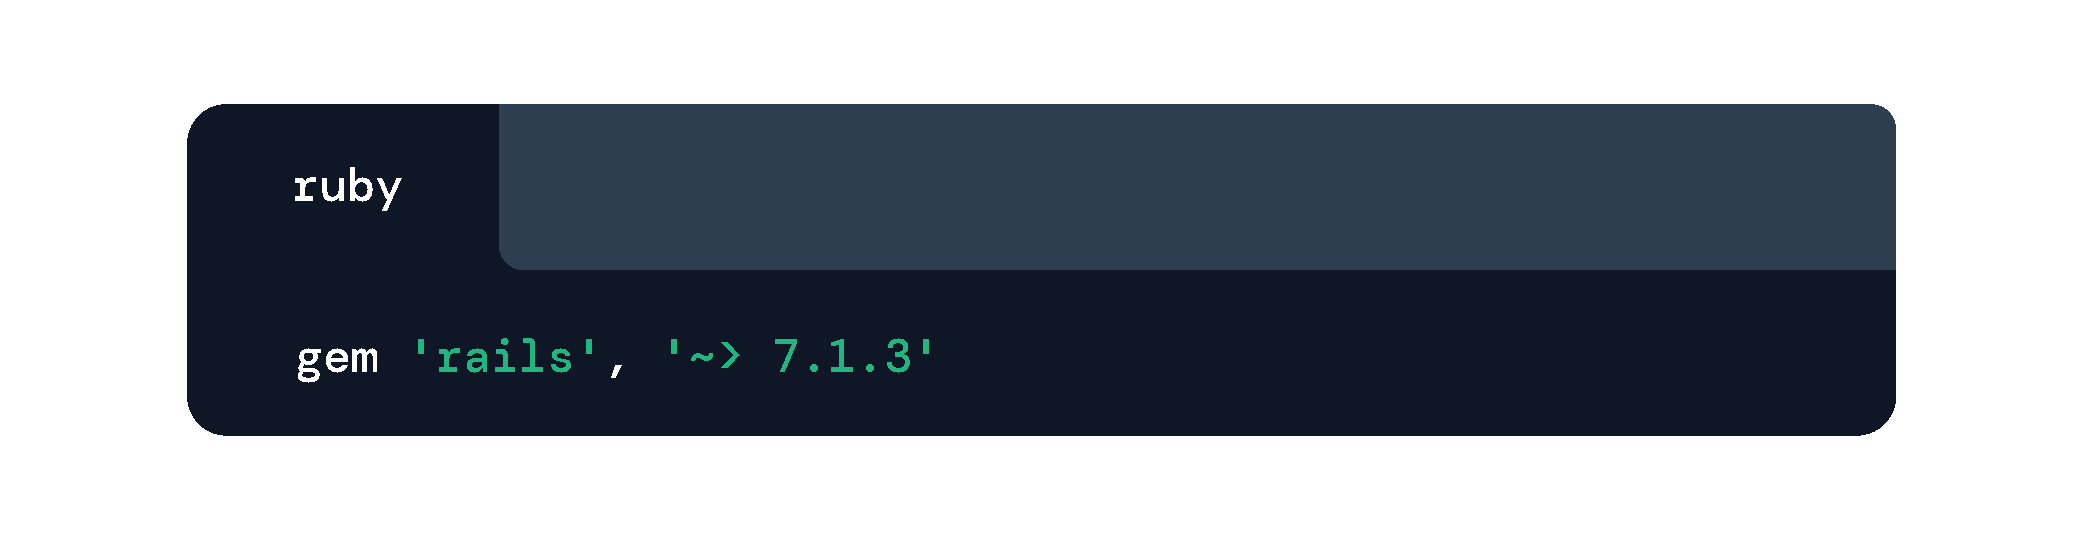
This locks your app to Rails 7.1.3 and prevents accidental upgrades to Rails 7.2 or others, which may include breaking changes.
Read Documentation and Changelogs Thoroughly
Before updating any gem, don’t skip reading its documentation.
Start with the README to understand the current usage patterns, supported versions of Ruby and Rails, and whether any new setup steps are needed for compatibility.
Next, dig into the CHANGELOG.md file or the GitHub releases section. This is where maintainers often outline breaking changes, deprecated methods, renamed configuration options, and migration instructions.
Also, skim through open and closed issues on the gem’s GitHub page. Look out for upgrade-related errors reported by others, especially those involving your target Rails version. In many cases, someone may have already flagged a known bug or offered a workaround.
This upfront reading often reveals problems that would otherwise show up during testing or production, saving time and keeping you on track.
Replace Problematic or Abandoned Gems
If a gem hasn’t been updated in years or lacks support for newer Rails versions, it may be safer to replace it. Look for community-maintained alternatives or official replacements. For example:
Replace Paperclip with ActiveStorage Swap DelayedJob for Sidekiq, if the former is falling behind in updates
Use resources like Ruby Toolbox to discover modern, stable, and well-supported gems.
Use Forks or Community Patches
If a gem is no longer maintained but someone has already patched it for your target Rails version, you can temporarily rely on a GitHub fork. Point your Gemfile to the fork like so:

Just remember: forks are not long-term solutions. Monitor the upstream repository for progress or consider replacing the gem eventually.
Use Selective bundle update
Running bundle update without specifying a gem name can upgrade dozens of libraries, many of which you may not be ready for. Instead, run:
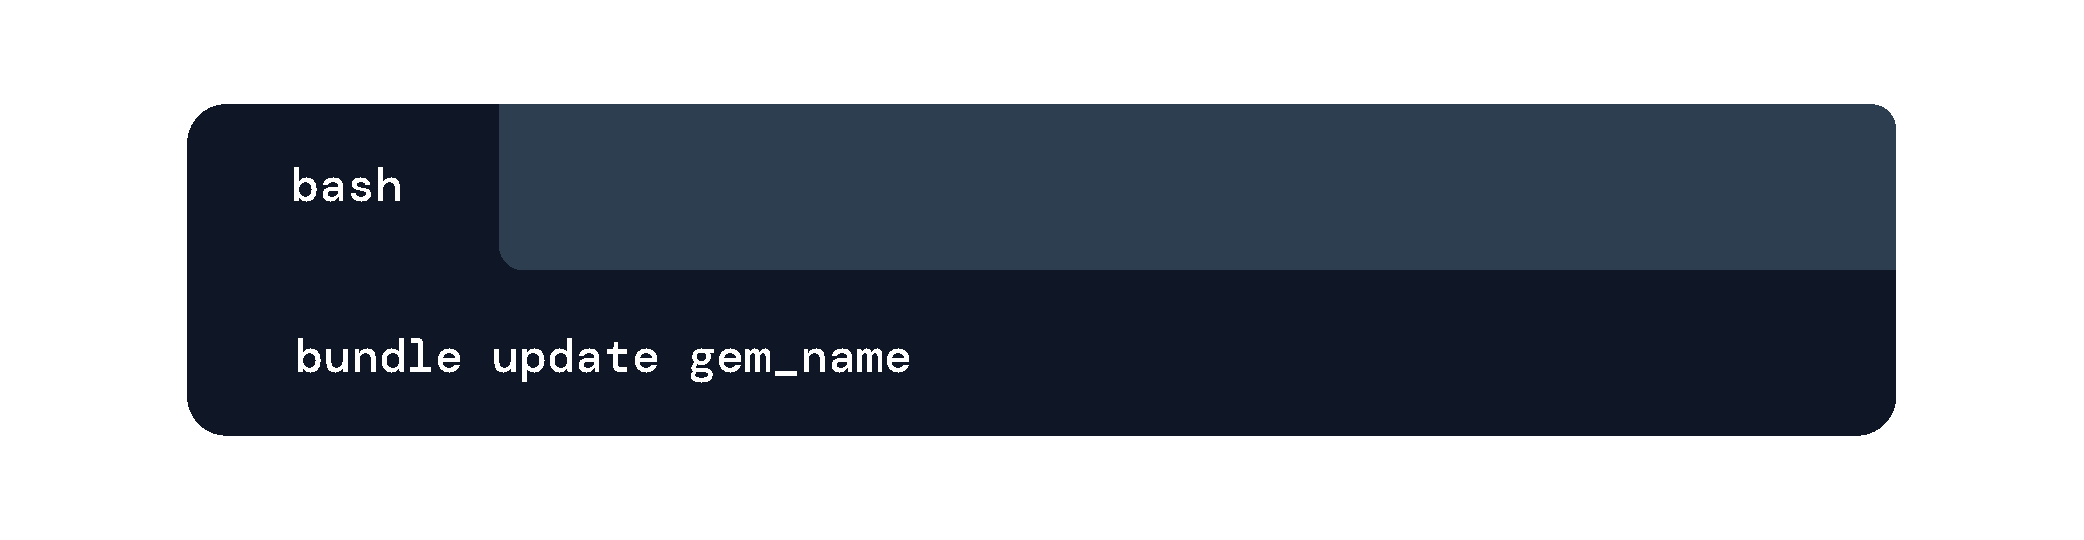
This updates one gem at a time, making it easier to track regressions and pinpoint failures when things go wrong.
Lean on the Community
You’re rarely the first to hit a roadblock during a Rails upgrade. Many developers have already documented similar issues in GitHub Issues, Stack Overflow threads, or forum posts.
Try searching your exact error message. If you’re still stuck, share your findings in the Rails communities on Slack, Discord, or Reddit. Chances are, someone’s already solved it or has a solid workaround.
Keep a Detailed Change Log
During an upgrade, changes such as gem version bumps, initializer tweaks, updated config files, monkey patches, or workarounds for specific compatibility issues can pile up quickly. If these decisions aren’t documented, your team will be left guessing when something breaks down the line.
Always maintain a running changelog that captures what changed, why it was necessary, and how it was implemented, whether through clear commit messages, inline comments, an internal wiki, or a dedicated upgrade.md file in your repo.
Besides, be sure to include context, such as deprecated Rails methods, unmaintained gems, or fixes based on GitHub issues. This record becomes invaluable for onboarding new developers, debugging regressions, and revisiting decisions in future upgrade cycles.
Use Git Branches to Roll Back Safely
Before making any upgrade-related changes, create a dedicated Git branch to isolate your work from the main codebase. This ensures that if something breaks or the upgrade takes longer than expected, you can easily roll back or pause without impacting production.
Use clear, descriptive branch names like rails-7-upgrade or upgrade/rails-7.1 so collaborators immediately understand the purpose. Commit frequently with meaningful messages to capture decisions, workarounds, or blockers as they happen. This approach not only protects your mainline code but also helps teammates stay in sync and makes troubleshooting easier if issues arise later.
Conclusion
Upgrading Rails is a commitment to the long-term health of your application. Over the years, we’ve observed that the most successful upgrades aren’t rushed or reactive. They’re planned, deliberate, and grounded in a clear visibility into app’s dependencies, especially its gem ecosystem.
Each version bump brings its own challenges, but what doesn’t change is the value of doing things right: catching issues early, documenting decisions, and keeping your system predictable even as it evolves.
When it comes to compatibility, taking it seriously from day one of your upgrade plans can save your team valuable time, maintain development velocity, and ensure your product stays resilient through every version shift.
We hope the insights shared in this article around version compatibility help you navigate your next Rails upgrade with confidence.
And if you need expert guidance along the way, feel free to reach out to our team at Railsfactory. We're here to help!