Mastering Rails Upgrades: Best Practices and Tips
A successful Rails upgrade begins with smart planning. This article covers the signs, best practices, and tools for a faster, safer upgrade.


Pichandal
Technical Content Writer


Modern Rails apps run on a complex web of dependencies from gems, APIs, to background workers, and framework components. Although tech teams agree that Rails upgrades are important, it rarely feels urgent until something breaks or a new feature becomes impossible to implement without it.
But waiting for that breaking point can be costly in both time and trust. A proactive approach to upgrades can turn a looming risk into a smoother, more predictable path forward.
Whether you're tackling an overdue upgrade or planning ahead for stability and scalability, the key isn’t just technical effort; it’s how well you prepare. In this article, we’ll walk you through best practices that seasoned Rails teams follow (with quick tips) to make your next Rails upgrade smoother, safer, and less disruptive.
When Should You Upgrade Rails?
Rails upgrades rarely feel urgent at first. Most teams are focused on building features and fixing bugs, so framework upgrades take a back seat. But over time, subtle signs begin to show up as things slowdown in the background.
Security alerts start piling up, gem updates get harder to manage, and developers begin spending more time working around limitations than building new features. Before long, your app feels like it’s stuck in place, and even small changes start to feel risky. That’s usually a sign your Rails version is holding you back.
Clear Signs It’s Time to Upgrade
Rails upgrades aren’t about chasing shiny objects whereas they’re about keeping your app healthy, secure, and fast-moving. If any of the issues we listed below feel familiar, it’s probably the time for you to stop pushing that upgrade ticket down the backlog.
Security vulnerabilities are stacking up
Tools like Dependabot or bundler-audit start flagging unpatched issues. If your Rails version isn’t getting security updates anymore, these alerts will only get louder by the day.
Performance starts to suffer
Outdated ActiveRecord patterns, legacy caching logic, and inefficient background jobs can slow down your application. Modern Rails versions include built-in optimizations to address these issues. But if you're too far behind, you’ll miss out on the performance gains that come with staying up to date.
Gems are no longer compatible
When new gems or updates break compatibility with your Rails version, it slows development. You either have to pin older versions or hack around them, which adds more technical debt.
Deployments are getting trickier
As CI/CD tools and hosting platforms evolve, older Rails versions may run into compatibility problems. Something as basic as a version mismatch in your build pipeline can turn into a headache.
Community support is drying up
The farther back your version, the harder it is to find answers. Most of the community, tutorials, and tools are built for the latest major versions.
Your logs are cluttered with deprecation warnings
If you're noticing constant deprecation messages, it’s a sign that things are on borrowed time. It’s better to address them now, before they turn into breaking changes in the next upgrade.
You’re locked out of newer features
Features like Hotwire, Zeitwerk autoloading, parallel testing, or multi-DB support aren’t just extras; they solve real pain points. If you're stuck on an older version, you’re not only missing them out, but also making your development process slower and more cumbersome.
Third-party integrations are breaking
APIs and services like Stripe, Elasticsearch, or even payment gateways often require modern frameworks to work correctly. An outdated Rails app can cause these integrations to fail, turning them from assets into ongoing challenges.
What Happens If You Wait Too Long
The upgrade path gets more complex
Upgrading across multiple major versions means dealing with cumulative deprecations, gem compatibility issues, and potential framework rewrites. Each skipped version adds more friction and makes testing, debugging, and deployment riskier.
Higher upgrade costs later
Skipping a version might feel like a shortcut now, but it creates a heavier lift down the line. Teams often end up having to leap two or three versions in one project, which multiplies the complexity and downtime. And because older code tends to be less documented and less modular, refactoring takes longer, too.
Onboarding gets tougher
New hires are forced to learn outdated patterns, navigate around deprecated gems, and deal with brittle tests. Instead of getting up to speed, they end up spending their first few weeks untangling technical debt. That’s frustrating and results in poor use of engineering time.
Development slows down
Legacy code often means avoiding certain features or areas of the app because "touching it breaks things." Developers end up writing boilerplate code or duplicating logic just to stay within safe zones. It kills momentum and makes everything feel harder than it should be.
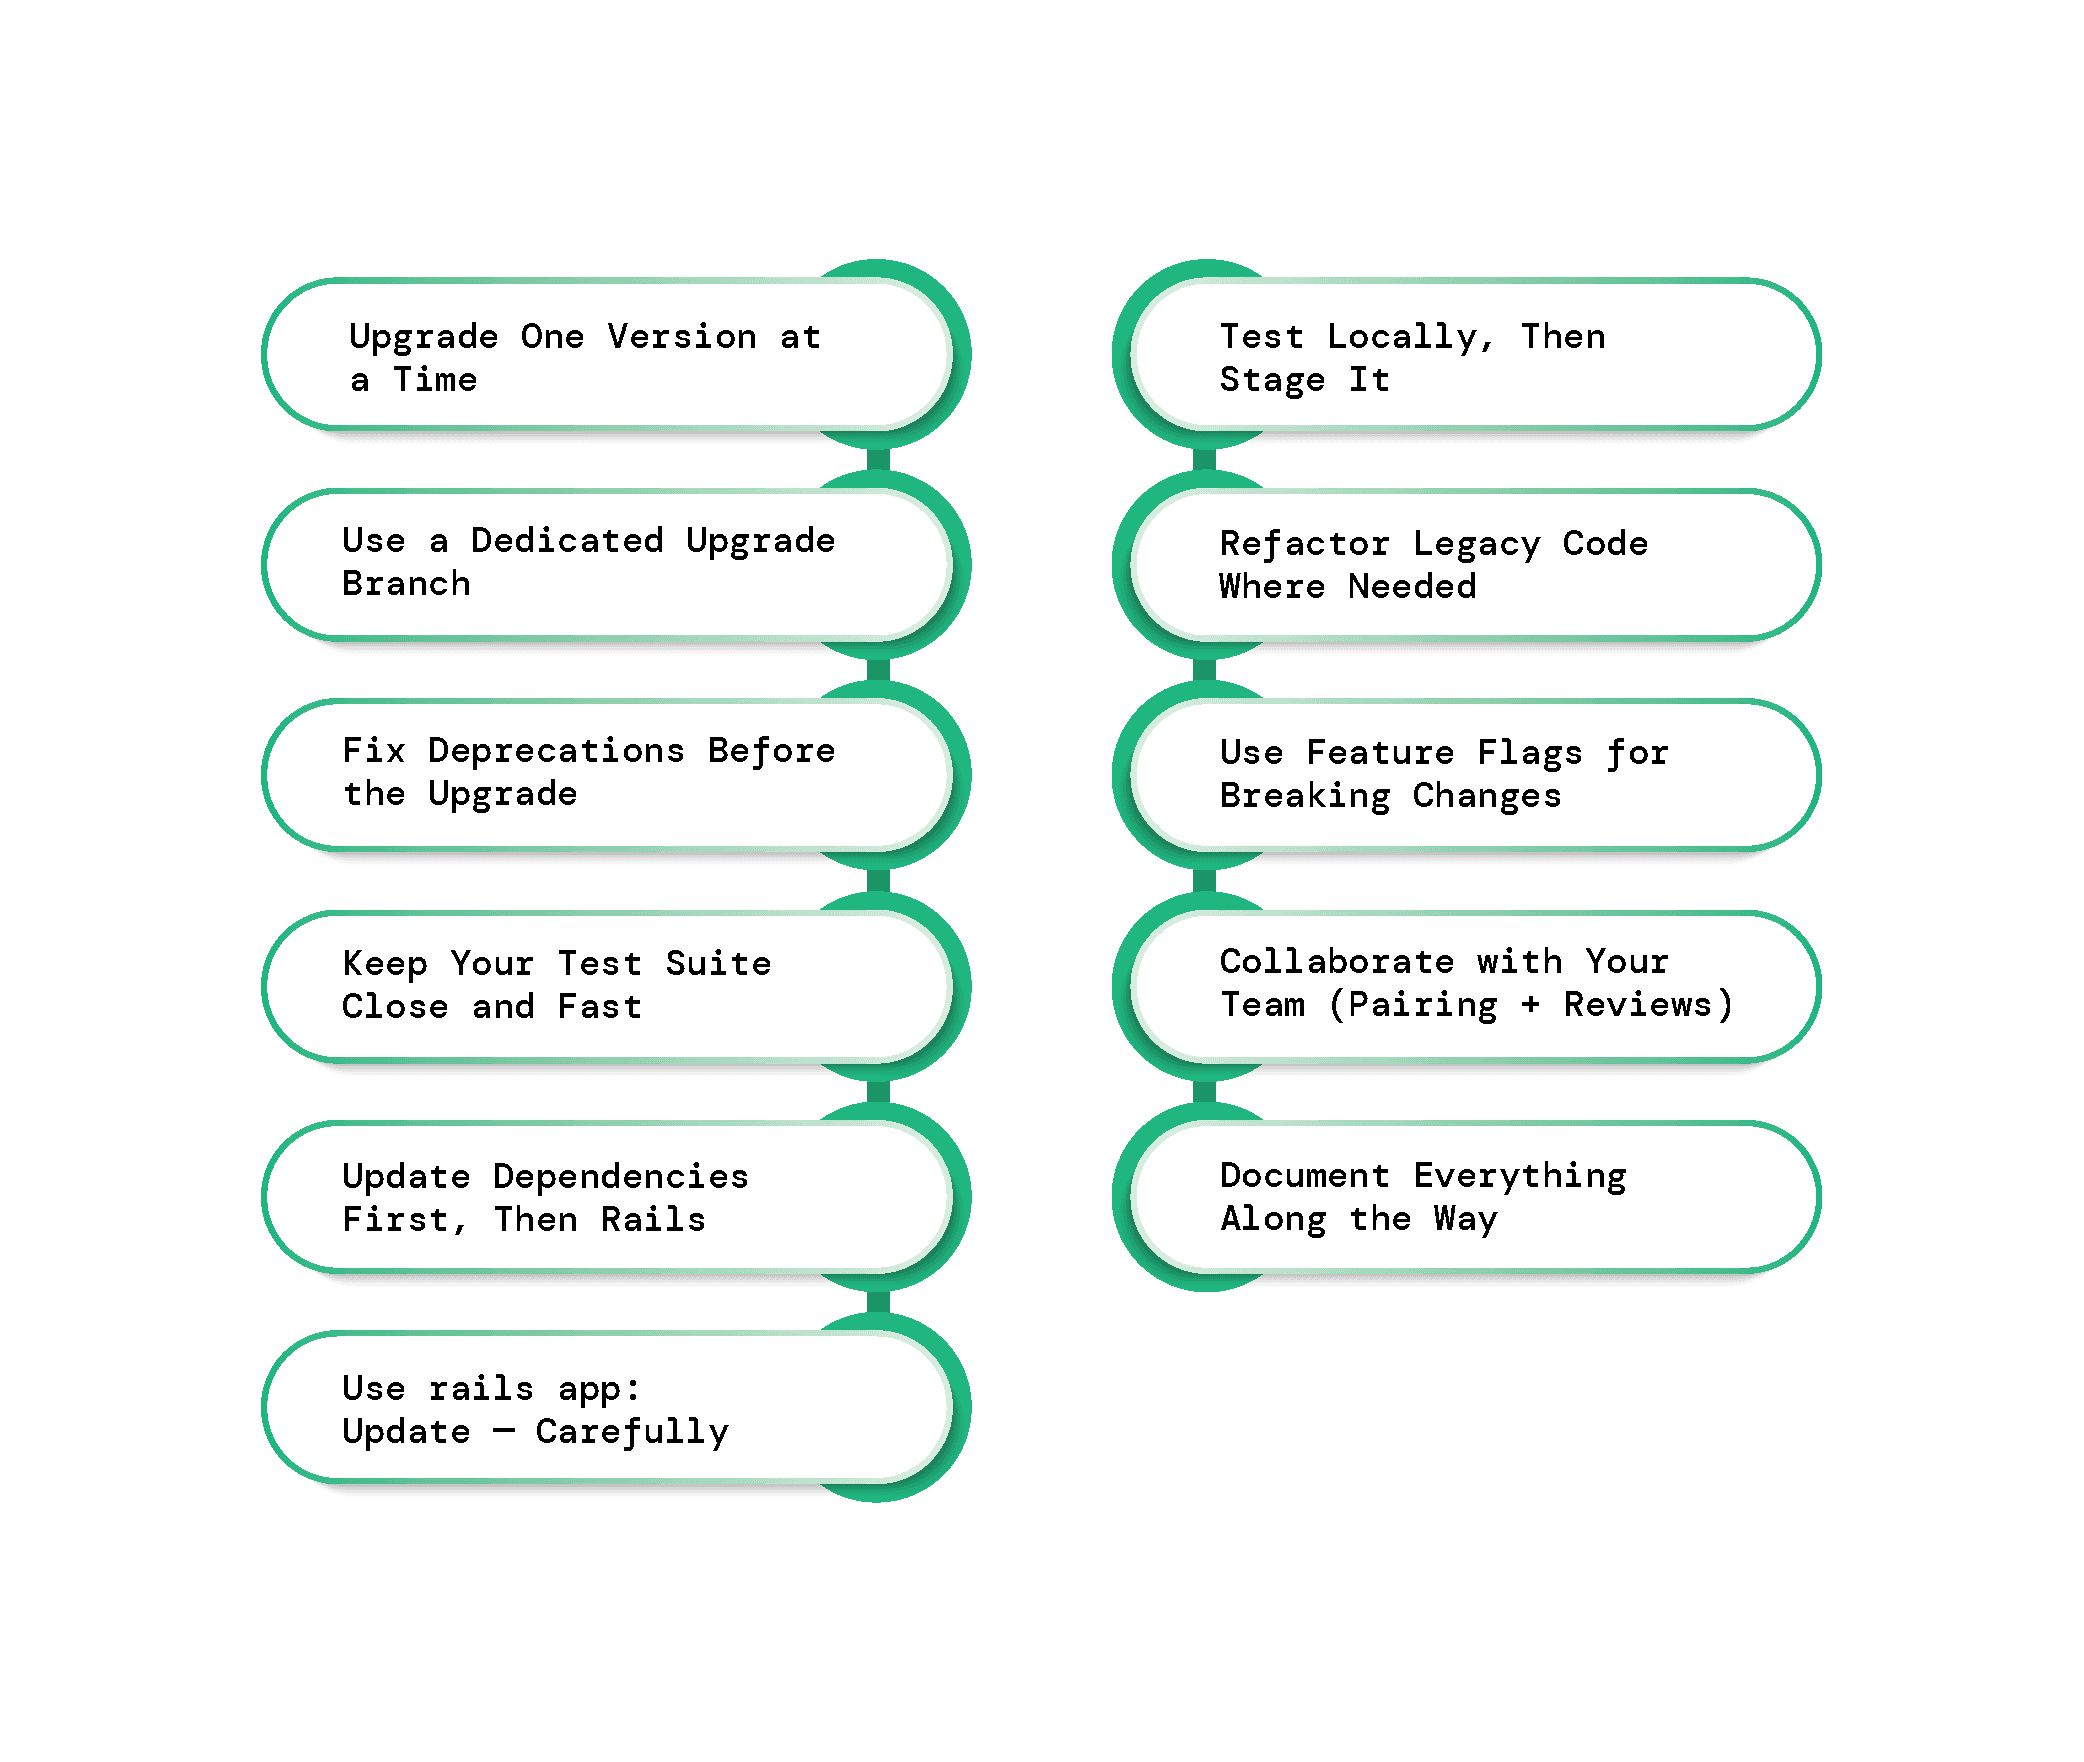
Best Practices for a Smooth Upgrade
Upgrading Rails is a step-by-step process that impacts almost every part of your app. Miss a step, and small glitches can quickly turn into major blockers.
With over 18 years of experience in Ruby on Rails development, our expert team at Railsfactory has seen it all. The best practices we recommend below come from real-world upgrade projects and can help you stay ahead of issues before they grow into bigger problems.
1. Upgrade One Version at a Time
Rails upgrades are safest when done incrementally. Jumping from Rails 5.2 to 7.0 may save time upfront, but often leads to more breakages, complex dependencies, and vague bugs. Instead, move it version by version, ex: 5.2 → 6.0 → 6.1 → 7.0 and verify stability at each step. This isolates problems and makes it easier to pinpoint what went wrong, should issues arise.
Tip: Bookmark the official Rails release notes and guides for each intermediate version. They’ll surface migration-specific changes that aren’t obvious from changelogs alone.
2. Use a Dedicated Upgrade Branch
Keep your upgrade work isolated from active development. A dedicated Git branch ensures you can make aggressive changes without affecting ongoing feature work. It also makes it easier to merge changes back once the upgrade is stable.
Tip: Create parallel upgrade branches for each version if you're doing step-by-step upgrades. That way, testing and debugging don’t block other stages.
3. Fix Deprecations Before the Upgrade
Don’t wait until after the upgrade to address deprecation warnings. Run your test suite and look for ActiveSupport::Deprecation messages. These often point to outdated method calls or behaviors that are removed in future versions. Fixing them upfront minimizes runtime errors post-upgrade.
Tip: Use tools like rails_deprecated_sanitizer, verbose logging (config.active_support.deprecation = :log), or even ActiveSupport::Deprecation.behavior =:raise to surface and fix issues faster.
4. Keep Your Test Suite Close and Fast
A solid, fast test suite is your best upgrade safety net. Before starting, ensure all tests pass on your current version. Then, after each change (gem update, config tweak, or version bump), rerun the suite. This helps catch regressions early and avoids debugging a pile of issues all at once.
Tip: Add feature specs for core user flows before the upgrade if your coverage is weak.
5. Update Dependencies First, Then Rails
Before upgrading Rails, update all your gems to their latest compatible versions. Tools like railsdiff.org or RubyGems.org can help check for version compatibility.
Some gems (like Devise, Sidekiq, or RSpec) may require specific versions for each Rails version. Bumping Rails before them can break things unexpectedly.
Tip: Use RailsUp to instantly check which of your gems support your target Rails version. It helps spot blockers early, before you hit runtime errors.
6. Use rails app:update Carefully
Running rails app:update will prompt you to compare config files (like config/application.rb, environment files, or secrets.yml). Don’t blindly accept all changes, inspect each diff and merge only what’s necessary.
Tip: Use Git diff tools to compare configs side-by-side. Save clean backups of modified files before accepting changes. It’s easier to roll back cleanly if something breaks.
7. Test Locally, Then Stage It
Always validate changes in a local dev environment first. Once stable, push to a staging environment that mirrors production closely.
Test everything from user logins, payment flows, background jobs to APIs, and integrations (e.g., Stripe, AWS SDK, or Elasticsearch).
**Tip: ** Use real (but anonymized) production data in staging. Many issues only surface with real-world volume or edge cases.
8. Refactor Legacy Code Where Needed
Use the upgrade process as a chance to clean up legacy code. Remove outdated monkey patches, refactor custom initializers, and replace obsolete APIs or anti-patterns. These are frequent upgrade blockers. Fixing them upfront reduces brittle behavior and future upgrade pain.
Tip: If something looks fragile or undocumented, assume it’s a future upgrade blocker. Thus, refactor or remove them without a second thought to save time later.
9. Use Feature Flags for Breaking Changes
Wrap risky or incomplete features in flags (e.g., Flipper, Rollout) so QA can test changes in isolation. This is especially useful for larger apps or teams with multiple product stakeholders.
Tip: Use flags not just for features, but for new Rails behaviors (e.g., new caching layer, new ActiveStorage setup) during rollout.
10. Collaborate with Your Team (Pairing + Reviews)
Upgrading Rails is rarely a solo job. Use pair programming or peer code reviews to catch edge cases, identify risky patterns, and validate upgrade-related changes, especially in large, legacy, or multi-developer codebases. A second set of eyes can save hours of debugging down the road.
Tip: Use pull requests with focused commits (e.g., “fix deprecation warnings,” “update Devise config for Rails 7”) to keep reviews clear and trackable.
11. Document Everything Along the Way
Track config diffs, gem bumps, test fixes, and any special fixes. This doc becomes gold during rollout and again during your next upgrade.
Tip: Keep an internal changelog (e.g., UPGRADE_NOTES.md) in the repo. Include commands, configs, and even Stack Overflow links if helpful.
Final thoughts: Prep Today, Upgrade with Confidence Tomorrow
Every Rails upgrade is a chance to refresh your foundations and move faster. It makes your app more maintainable and future ready.
Yes, upgrades can present their own set of challenges but with the right preparation, mindset, and tools, they don’t have to throw your team off track or your roadmap, off course.
Whether you're outsourcing rails upgrades or handling it in-house, the smooth upgrades aren't last-minute quick fixes. They are built on following best practices from prep to deployment like solid test coverage, a clean codebase, and managing tech debt early.
And if you’re staring at a legacy Rails app wondering where to even begin, don’t sweat it. Tools like Railsup (our free gem compatibility checker) give you clarity before you touch a single config file.
We hope the insights covered in this article have helped demystify the Rails upgrade process. Whether you’re planning rails upgrade ahead or facing immediate challenges, RailsFactory team is here to guide you every step of the way. We’ve got your back from audit to production!