Comprehensive guide to building your first web application with Ruby on Rails
Learn how to build your first Ruby on Rails web application step-by-step. From setup to deployment, this beginner-friendly guide covers everything you need to get started with Rails.


Pichandal
Technical Content Writer


Starting something new in web development can feel overwhelming. Ruby on Rails takes away much of the complexity, letting you focus on building real applications faster.
With over 18 years of experience in Ruby on Rails, we at Railsfactory, have seen how the right guidance can make all the difference. In this beginner-friendly guide, we’ll walk you through how to get started with Rails application development, from setup to deployment.
By the time you finish this article, you’ll not only understand how Ruby on Rails works but also gain confidence to start building your own web applications. . Whether you’re exploring Ruby on Rails application development for the first time or brushing up on the basics, this guide has you covered.
How to Set Up Your Development Environment
Before you dive into building your first Rails app, you need a solid development environment that’s reliable, consistent, and production ready. The good news is that Ruby on Rails has a well-documented and developer-friendly setup process.
In this section, we’ll walk you through everything you need to begin Rails application development, from installing Ruby and Rails to setting up your database, configuring your code editor, and running your first local server.
Each step is beginner-friendly, with commands and explanations, so by the end of this section, you’ll be looking at a live “Welcome to Rails” page on your browser and ready to start building real features.
Step 1: Install Homebrew (macOS only)
If you're using macOS, Homebrew is your best option. It's a package manager that makes it easy to install and update software like databases, Git, Node.js, and more, all from the terminal.
Open Terminal and run:

Once it’s done, test the installation. If it says, “Your system is ready to brew,” you’re good to go.
Step 2: Install RVM and Ruby
Ruby is the programming language Rails is built on. Instead of installing it directly, use RVM (Ruby Version Manager), a tool that helps manage multiple Ruby versions across different projects.
Install RVM and Ruby (e.g., 3.2.2) using:
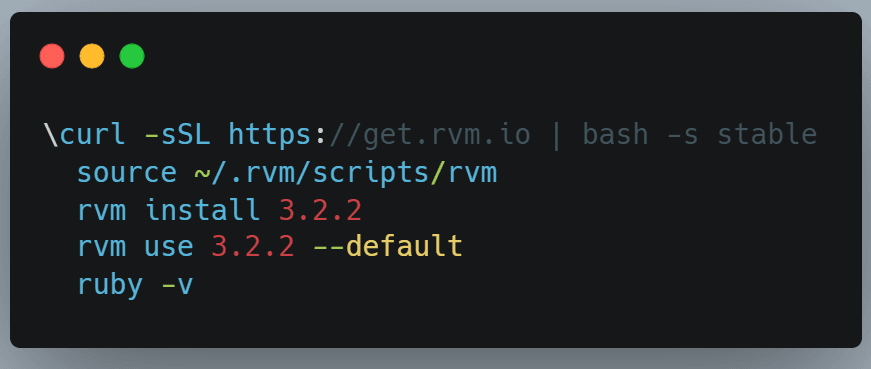
Confirm Ruby is installed:
Step 3: Install Rails
Rails is a Ruby gem (package), and once Ruby is installed, installing Rails is as simple as running a single command.
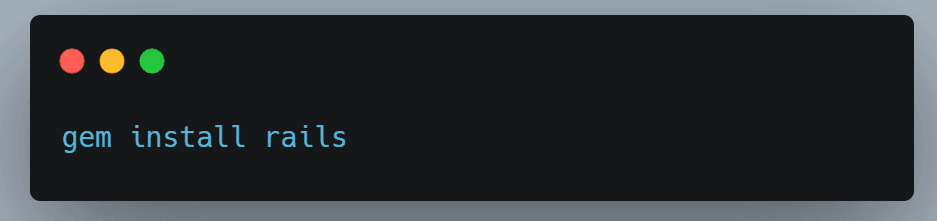
You’re officially Rails-ready!
Step 4: Install PostgreSQL
PostgreSQL is a reliable, production-grade database. It’s the preferred choice over SQLite for most real-world apps, especially if you plan to deploy to services like Heroku or Render.
Install it via Homebrew:
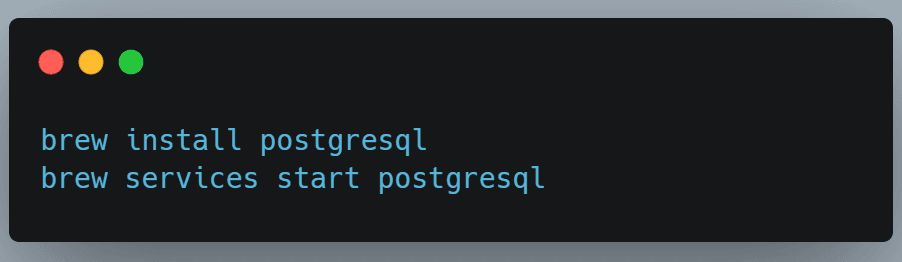
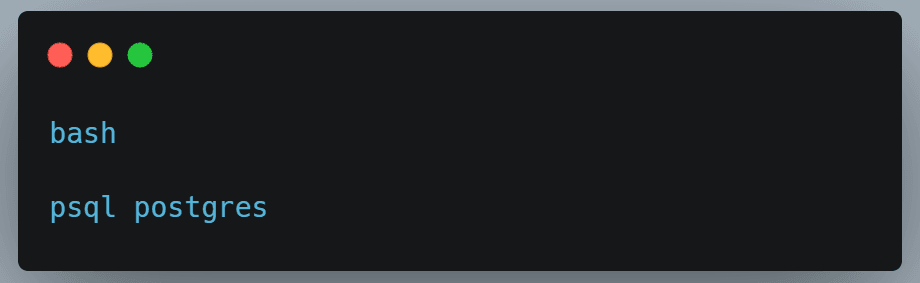
You can check it’s running with:
Step 5: Install Node.js and Yarn
Rails needs a JavaScript runtime to handle assets. Node.js powers JavaScript features, while Yarn manages frontend packages.
Install both with Homebrew:
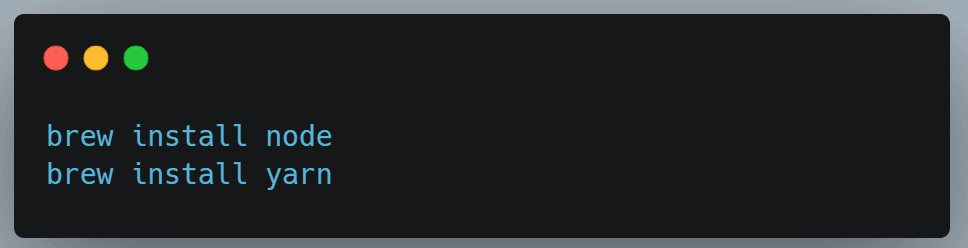
Check versions:

Step 6: Install Git and Set It Up
Git is essential for source control. If you’re planning to push your app to GitHub (and you should), install Git and set up your identity:
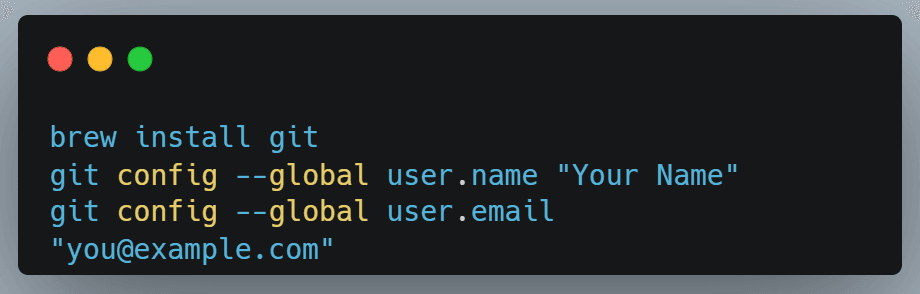
Confirm with:
Step 7: Choose Your Code Editor
Choose a code editor that’s comfortable and productive for you:
VS Code – Lightweight, powerful, and full of Rails extensions
RubyMine – A full IDE with deep Ruby and Rails support
Sublime Text – Fast and minimalist
Install one and configure it with Ruby/Rails plugins if needed.
Step 8: Create Your First Rails App
Now that everything’s ready, it’s time to generate your first app. Use the following command to create a new Rails project with PostgreSQL as the default database:

Replace my_app with your actual app name.
Step 9: Set Up the Database
Your new app needs a database. Run the following to create and prepare it:

This command creates your development database and runs any existing migrations (which are just schema definitions for your database).
Step 10: Run the Rails Server
Time to see your app in action. Start the Rails development server:
Then open your browser and and view the app at the default Rails development address. . If you see "Yay! You’re on Rails!" welcome page, your Rails app is up and running successfully.
Designing the Application Architecture
Before diving into Rails application development, it’s worth spending time on how your application is structured. Rails encourages clarity through conventions, but as your app grows, thoughtful architecture helps keep things maintainable, testable, and scalable.
Here’s how experienced Rails teams plan their applications:
1. Define Core Domain Models (Start With the Nouns)
Begin by identifying the primary entities in your application. These are usually nouns like User, Task, Project, or Article. Focus on business logic and determine what the main building blocks of your product are.
Use concepts from domain-driven design (DDD) to ensure your models reflect real-world behavior. For example:
A User has many Projects
A Project has many Tasks
A Task may belong to a category or have a status
This early mapping helps you visualize relationships and data flow before any code is written.
2. Stick to Rails MVC
Rails is built around MVC (Model-View-Controller) and following these conventions gives you clarity out of the box. But for more complex apps, you’ll benefit from introducing additional layers:
Service Objects – for business logic that doesn’t belong in controllers or models
Form Objects – to handle complex forms or multi-model input
Presenters/ViewModels – to keep views clean and logic-free
Concerns – to share reusable logic across models or controllers
This modular approach keeps your codebase clean and easy to maintain.
3. Choose API-Only vs Full-Stack Rails
Decide early:
Will your app use Rails views and templates (a full-stack approach)?
Or is it an API-only backend to power a frontend built in React, Vue, or for a mobile app?
Your choice impacts setup:
API-only apps skip views and use tools like ActiveModelSerializers or JBuilder.
You'll also need to handle CORS (cross-origin requests).
Routing, middleware, and deployment pipelines can differ significantly.
4. Plan Authentication and Authorization Early
Most apps need to handle users securely. Choose your stack early:
Authentication (who the user is): Devise, Auth0, or JWT
Authorization (what the user can do): Pundit or CanCanCan
It’s important to separate concerns:
Authentication handles login, registration, and sessions
Authorization governs roles, permissions, and access levels
Rails has solid libraries for both, but planning them up front avoids challenges later.
5. Pick Supporting Services for Common Needs
Depending on your app’s needs, consider these integrations early on:
Background Jobs : Sidekiq or Delayed Job for async tasks like sending emails
File Uploads : ActiveStorage (built-in), Shrine, or CarrierWave
Email Delivery : ActionMailer (built-in), with services like SendGrid or Amazon SES
Caching : Redis or Memcached to improve performance
These services often require setup at the infrastructure level, so don’t treat them as an afterthought.
6. Design Your Database With Constraints in Mind
Plan your schema carefully:
Normalize your tables where possible
Use foreign keys, indexes, and constraints to prevent bad data
Consider PostgreSQL features like:
JSONB for storing flexible data
Enums for finite status fields
Partial indexes for performance tuning
Rails migrations make database changes safe and reversible, but it pays to get things right from the start.
7. Modularize With Engines or Namespaces (Advanced)
If your app grows large (e.g., separate admin dashboards, API versions, or multi-tenant logic), consider:
Engines – miniature Rails apps within your app
Namespaces – e.g., Admin::UserController or Api::V1::ProjectsController
These patterns help isolate logic, enforce boundaries, and keep large teams moving independently.
8. Plan a Testable Architecture
Testability isn’t just about tools, it’s about structure. If you build with clean layers (services, policies, forms), you can:
Unit test small parts in isolation
Integration-test key flows
System test full user journeys
Pick your testing tools early:
RSpec(popular in the Rails world)
FactoryBot for test data
Capybara for browser-based tests
Even a simple test suite can prevent regressions and boost confidence in your app.
Implementing Features Step by Step
In this section, we’ll walk you through how to build real features, using a simple example of a blog where users can create, view, and manage posts. Even if your project is different, these steps apply to most Rails application development processes.
1. Generate Models to Define Data
Begin by creating the models that represent your application’s data. For a blog, you might need a Post model that belongs to a User. Use Rails generators to create this structure:
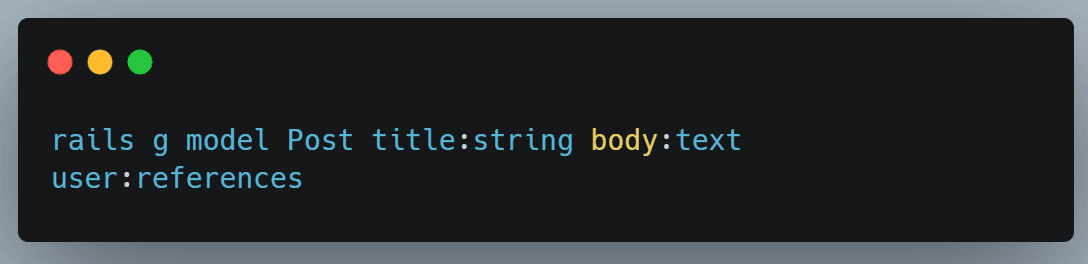
After generating the model, run rails db:migrate to apply the database changes.
2. Define Associations to Link Data
Next, establish relationships between models. For example, each user can have many posts, and each post belongs to a user. In Rails, this is done through associations in your models:
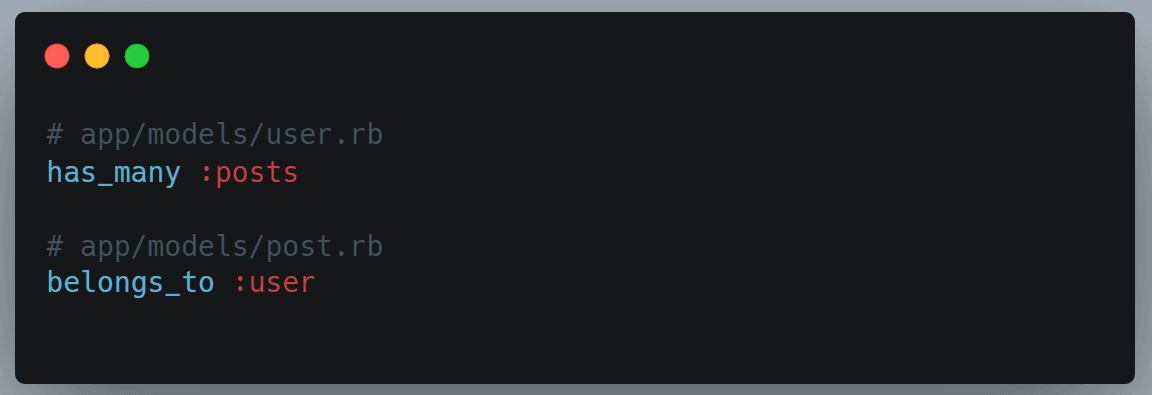
These connections allow Rails to automatically handle data relationships for you.
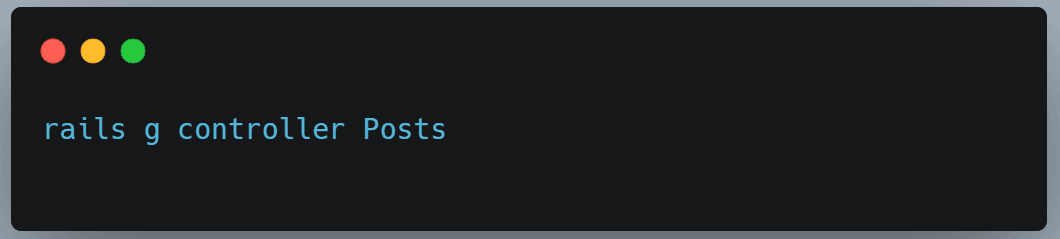
3. Create Controllers to Handle Requests
Generate a controller to manage how users interact with posts. This controller will include actions like viewing all posts, showing a single post, creating a new post, and editing or deleting existing ones.
4. Add Routes to Connect URLs to Actions
In the config/routes.rb file, define how URLs map to controller actions. A single line can set up all the standard routes for managing posts:
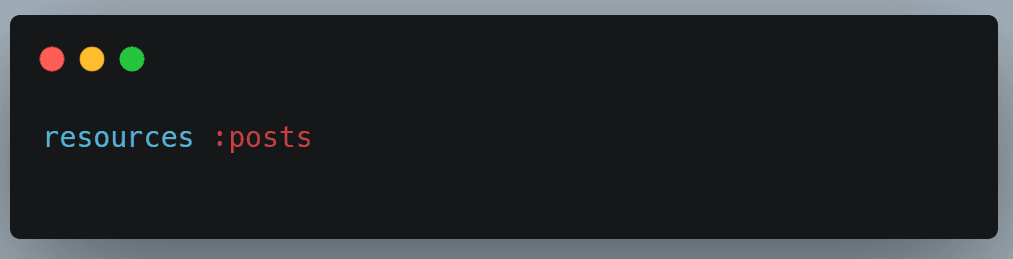
This gives you RESTful routes for listing, viewing, creating, updating, and deleting posts.
5. Create Views to Display Content
Views are the pages your users see. Rails uses embedded Ruby (ERB) templates to render these pages. Create view files for listing posts, showing details, and displaying forms for new or edited posts. These typically include files like index.html.erb, show.html.erb, new.html.erb, and edit.html.erb.
6. Build Forms for User Input
To allow users to submit data, such as creating or editing a post, use Rails’ built-in form helpers. Here's an example of a simple form for posts:
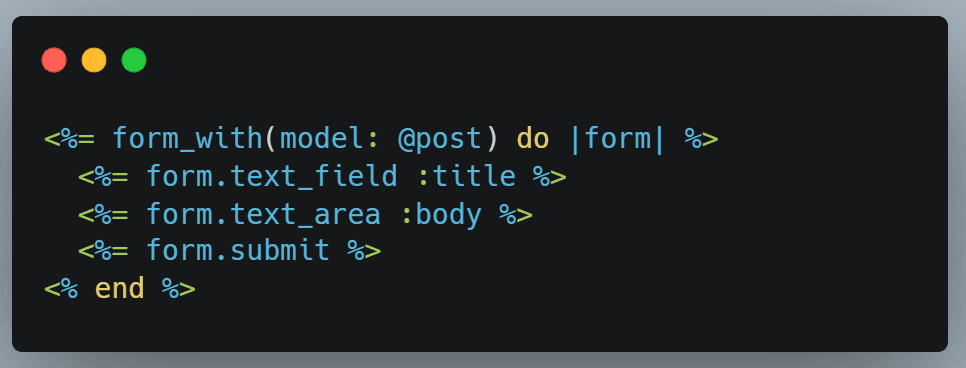
Rails automatically handles form submissions and links them to your controller actions.
7. Implement Flash Messages for User Feedback
Flash messages provide feedback after actions such as creating or updating content. Adding flash messages to your layout helps users know what happened:
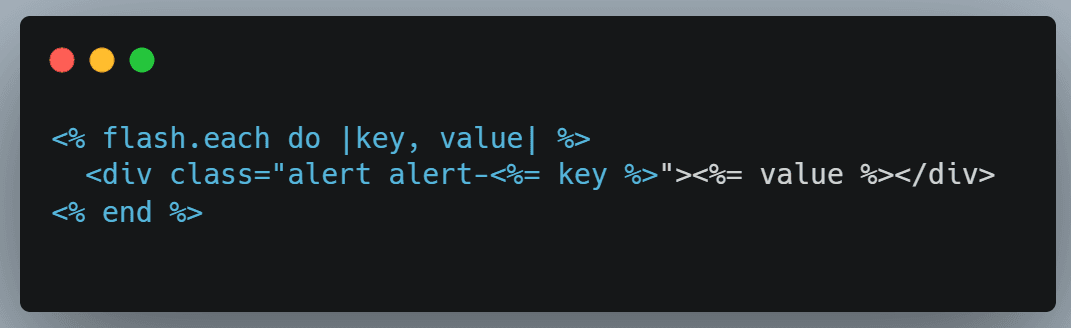
You can style these alerts to match your application’s design.
8. Style the Application with CSS Frameworks
A clean and user-friendly interface is key to a good user experience. Many Rails developers use frameworks like Tailwind CSS or Bootstrap to speed up the styling process and ensure consistency across the app.
9. Add Useful Features as You Grow
As your app matures, you’ll likely need additional features such as pagination for long lists of content, search functionality, or file uploads. Rails makes it easy to integrate these using popular gems:
Kaminari for pagination
Ransack for search
Active Storage for handling file uploads
These enhancements improve usability without requiring complex setup.
10. Secure Your Application with Access Controls
Security is essential from the start. Use authentication to ensure that only registered users can access certain features, and authorization to control what actions each user is allowed to perform. For example, adding before_action :authenticate_user! in your controller restricts access to logged-in users.
Tools like Devise for authentication and Pundit or CanCanCan for authorization help manage this cleanly and securely.
By following these steps, you can implement features one by one in a structured and maintainable way. This will help you move your Ruby on Rails application development forward smoothly and create something users will actually use and enjoy.
Testing and Deployment of the Application
Testing Your ROR Application
Step 1: Understand the Application Requirements
Begin by reviewing the requirements or user stories provided.
Make sure you clearly understand how each feature is expected to work from both user and business perspectives.
Step 2: Set Up the Testing Environment
Prepare your Rails application for testing by setting up the necessary testing frameworks such as RSpec, Capybara, or Minitest.
If automation testing is required, install supporting tools and create test data to mimic real-world scenarios.
Step 3: Write Test Cases
Draft clear, step-by-step test cases covering:
Expected behaviors (positive scenarios).
Edge cases and error conditions (negative scenarios).
Step 4: Apply Different Types of Testing
Functional Testing: Ensure each feature behaves as expected.
Usability Testing: Validate if the application is intuitive and user-friendly.
Regression Testing: Confirm that new changes don’t break existing functionality.
Compatibility Testing: Test across different browsers and devices.
Security Testing: Check for vulnerabilities and data protection.
Automation Testing: Automate repetitive tests when beneficial or when requested.
Step 5: Execute the Test Cases
Systematically run each test case and record the results.
Note any failures or unexpected behaviors.
Step 6: Report Bugs and Collaborate
Document any issues found and communicate them clearly with developers and business analysts.
Collaborate to prioritize and resolve bugs efficiently.
Step 7: Retest and Verify Fixes
After fixes are applied, retest the affected areas to confirm resolutions.
Conduct a quick regression test to ensure no new issues have been introduced.
Step 8: Final Reporting and Sign-Off
Prepare a concise test summary highlighting the scope, test results, and outstanding issues (if any).
Obtain approval from stakeholders before moving to deployment.
Deploying Your Ruby on Rails Application
Step 1: Branch the Codebase for CI/CD
Create a dedicated branch (e.g., ci_setup) to handle deployment-related configurations separately from the main development branch.
Step 2: Organize CI/CD Directory
Add a ci-cd folder in the project repository containing all assets related to continuous integration and deployment.
Step 3: Define Infrastructure Using Terraform
Automate infrastructure provisioning with Terraform to ensure consistency in deploying compute, database, and networking resources.
Step 4: Integrate Jenkins for CI/CD Automation
Create a Jenkinsfile outlining the pipeline stages: code checkout, build, infrastructure setup, deployment, and validation.
Enable automated, trackable deployments.
Step 5: Configure AWS ECS for Deployment
Containerize the application using Docker.
Deploy to AWS Elastic Container Service (ECS) for scalability and resilience.
Step 6: Set Up and Integrate the Database
Provision a managed MySQL database.
Connect the Rails application securely with the database service.
Step 7: Manage Secrets and Environment Variables
Use secure secrets management solutions to handle environment-specific settings (development, staging, production).
Step 8: Automate Pipeline Execution
Set up automated triggers (e.g., push to ci_setup branch) to initiate the CI/CD pipeline and deployment process.
Step 9: Perform Post-Deployment Validation
Execute health checks and connectivity tests to confirm the deployed application is functioning correctly and all services are connected.
Step 10: Maintain Version-Controlled Deployment Flow
Keep all CI/CD scripts, Terraform configurations, and deployment procedures under version control.
This ensures traceability, collaboration, and the ability to roll back safely if needed.
As the steps outlined above are essential to successful Ruby on Rails application development, following this step-by-step approach will help ensure your RoR application is thoroughly tested and deployed reliably with minimal risks and maximum efficiency.
Wrap Up
Building your first web application with Ruby on Rails might seem challenging at first, but with the right steps, it becomes an exciting and rewarding journey. From setting up your environment to designing, building, testing, and deploying your app, Rails offers powerful tools to help you every step of the way.
However, like any new skill, practice is key.
The more you experiment and build, the more confident you’ll become in Ruby on Rails application development. With nearly two decades of experience building and maintaining Ruby on Rails applications, our expert Rails team is here to help you turn ideas into fully functional applications, whether you’re just getting started or looking to take your app to the next level.